Hip, Hip, Hooray! Three ways to make your own ice cream at home!
/I just learned that July 19th is National Ice Cream Day. It seems appropriate given the reading on the thermometer, and that we’re right smack in the middle of summer.
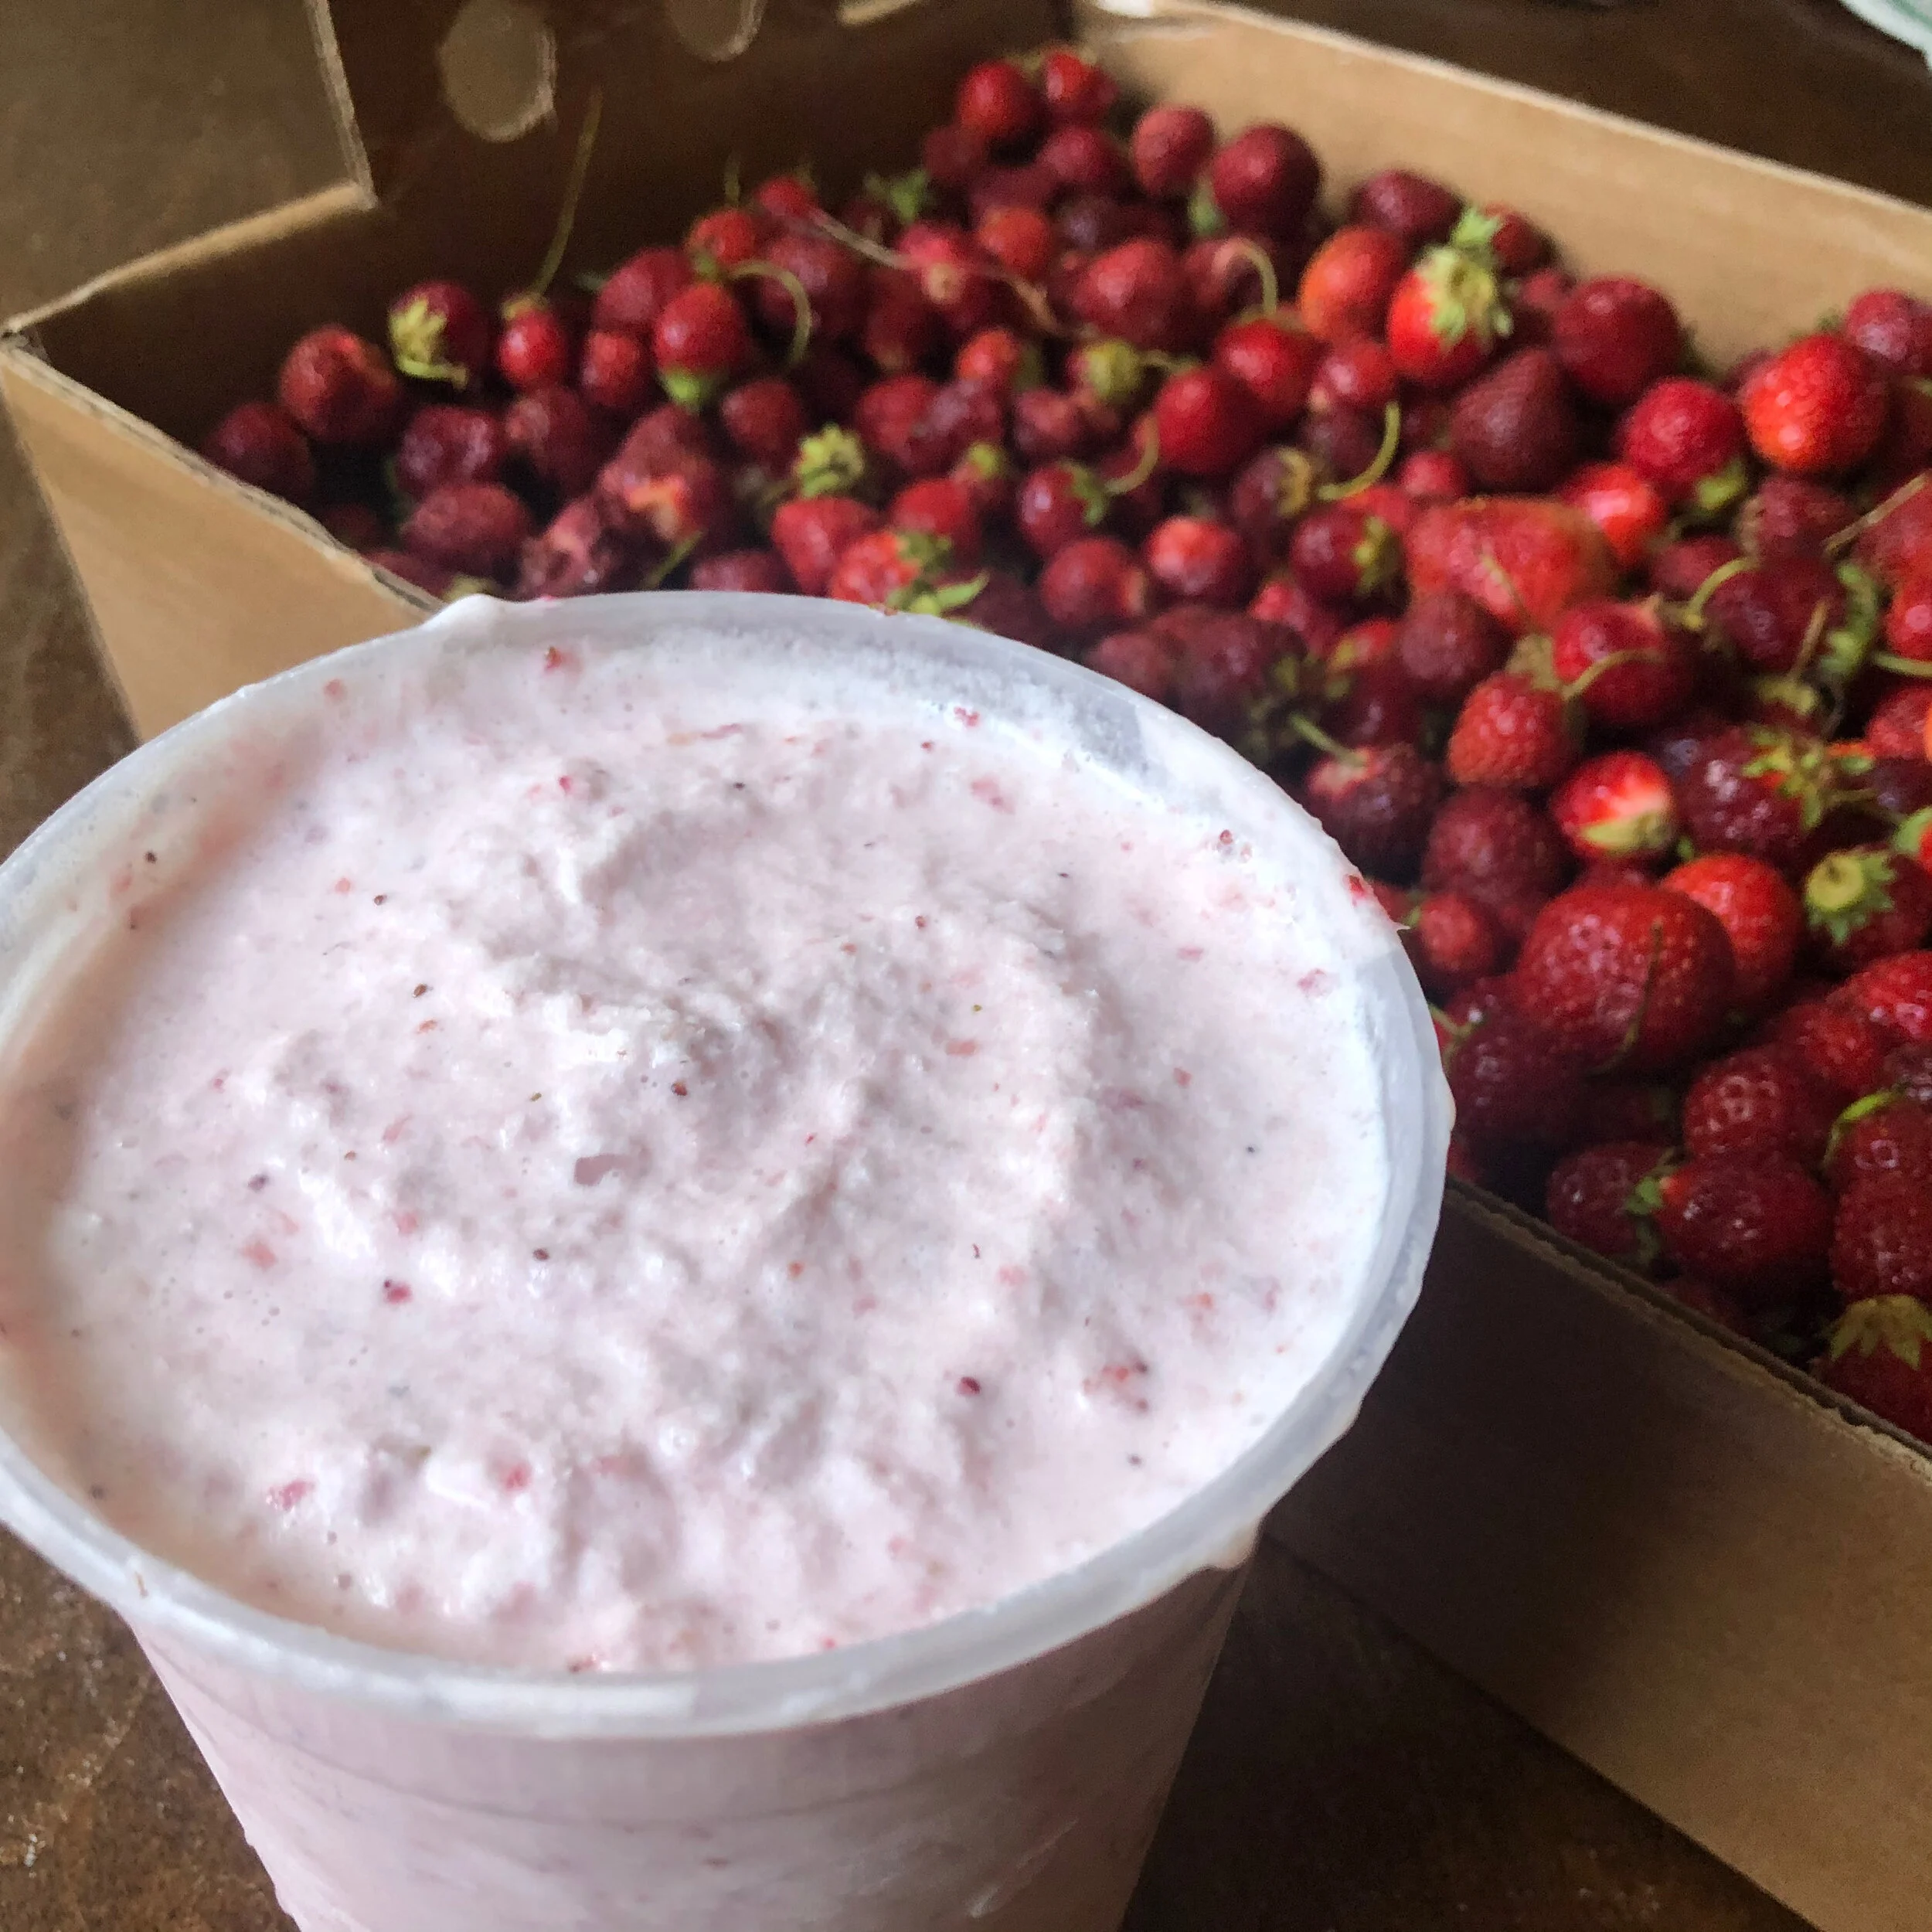
My kids have been clamoring for their turn to make homemade ice cream and so far we’ve been treated to two delicious flavors: fresh strawberry ice cream with strawberries we picked at the Berry Patch Farm, and mint ice cream with fresh mint from my backyard garden, steeped in milk to absorb the flavors.
We’ve tried making ice cream three ways this summer, and all three are delicious - and different. The most important step to making creamy ice cream at home is not even on the ingredient list. The secret ingredient is air! The more teeny tiny air bubbles in your mixture, the creamer your ice cream will be. That’s why it’s so important to churn, toss, or mix, depending on which of the methods you choose below. Give them all a try!
Are you ready to make ice cream at home? Here’s our base recipe; use it for any of the 3 methods below.
BASIC ICE CREAM RECIPE
2 cups heavy cream
2 cups whole milk
1/2 cup sugar
1 teaspoon vanilla
1/2 teaspoon salt
1 cup mix-ins (we used pureed strawberries for our strawberry ice cream)
USE AN ICE CREAM MAKER
Yes, you can make it easily in an ice cream maker, just follow the directions for your model. But don’t fret if you don’t have one!ICE CREAM IN A BAG
If you’re looking for a quick treat that involves some kid-fun, try making ice cream in a bag! Fill a zip-top bag with the ingredients, layer it into another zip-top bag with rock salt, ice, and water, and toss with a partner for about 10 minutes. The rock salt/ice/water mixture will lower the temperature of the ice cream mixture to below the freezing point, creating ice cream. The shaking and tossing will ensure that you have lots of air bubbles! We’ve done this dozens of times and it usually works…and at the very least you have a delicious milkshake!USE A HAND MIXER TO CHURN
We tried this method in our hands-on cooking classes last week and it turned out great! Combine the ingredients in a food processor or by mixing vigorously in a large bowl. Pour the mixture into a 13x9 pan and set in the freezer. After 30 minutes, remove from the freezer and “churn” using a hand mixer right in the pan. Then put it back in the freezer and repeat every 30 minutes for the first 2 hours. Cover, let freeze solid and enjoy!
We’d love to hear which method you choose and how it turns out. And, what flavor did you make?